

Tiles are an important part of modern home construction, renovation and interior finishing. Properly installed tiles improve the appearance, cleanliness, durability and functionality of kitchens, bathrooms, bedrooms, living rooms, balconies, staircases, terraces and commercial spaces. However, long-lasting tile installation depends on much more than choosing an attractive design. Surface preparation, waterproofing, tile selection, adhesive or mortar selection, correct slope, alignment, joint spacing, grouting and curing all play important roles.
Odisha's coastal areas experience humid conditions, monsoon rainfall and, in some locations, exposure to salt-laden air. Inland districts can experience hot summers, seasonal rainfall and different moisture conditions. These factors should be considered when selecting tiles and planning installation.
This complete guide explains the step-by-step tiles laying procedure for kitchens and homes in Odisha, including material selection, room-wise installation, climate considerations, quality checks, maintenance, cost factors and service coverage across all 30 districts.
Tiles can provide a durable finish when the correct materials and installation methods are used. Poor workmanship, however, may lead to hollow sounds, loose tiles, uneven flooring, cracked corners, water seepage, stained grout, bad drainage and premature repairs.
A professional tile installation process should focus on:
Strong bonding: Select a suitable adhesive or bedding system for the tile and substrate.
Level flooring: Maintain a flat surface without unwanted lippage between adjacent tiles.
Correct drainage: Provide suitable falls in bathrooms, utility areas, balconies and other wet zones.
Waterproofing: Protect bathrooms, kitchens where required, balconies and terraces using an appropriate waterproofing system.
Uniform alignment: Maintain straight tile lines, consistent joint widths and a planned layout.
Durable joints: Use compatible grout and suitable movement joints.
Easy maintenance: Select tile finishes and grout systems appropriate for each room.
The installation specification should follow the tile manufacturer's instructions, applicable Indian Standards and the project design.
Choosing tiles depends on the room's use, expected foot traffic, exposure to water, cleaning requirements and budget.
Ceramic tiles are commonly used on kitchen walls, bathroom walls and selected indoor floors. They are available in numerous colours, patterns and sizes. Their suitability for flooring depends on the specific tile's strength, surface finish and intended application.
Vitrified tiles are widely used in living rooms, bedrooms, dining areas and corridors. Many have low water absorption and are available in polished, matt, glazed and other finishes. Select a product rated for the intended application rather than relying on appearance alone.
Porcelain tiles generally have low water absorption and are available in numerous finishes. They can be suitable for floors and walls when the product, substrate, adhesive and installation method are compatible.
Textured or slip-resistant tiles may be appropriate for bathrooms, shower areas, balconies, entrances, utility spaces and outdoor circulation areas. Check the manufacturer's slip-resistance information and consider the surface under wet and soapy conditions.
Glazed ceramic or other suitable wall tiles can be used behind kitchen counters, around sinks and on cooking-area backsplashes. Choose a finish that can be cleaned without damaging the glaze or grout.
Granite, marble and other natural stones require product-specific fixing materials and maintenance. Some stones are sensitive to moisture, staining or certain cleaning chemicals. Confirm the installation and sealing requirements before work begins.
Large-format tiles can create a spacious, continuous appearance in living rooms and bedrooms. They require careful substrate preparation, appropriate adhesive coverage, correct handling and skilled installation. Small rooms may need additional layout planning to avoid narrow cuts and awkward joints.
| Area | Suitable tile considerations | Important installation requirement |
|---|---|---|
| Living room | Vitrified or porcelain tiles | Flat substrate, planned layout and uniform joints |
| Bedroom | Ceramic, vitrified or porcelain tiles suitable for floors | Comfortable finish and level installation |
| Kitchen floor | Durable, cleanable tile with suitable slip resistance | Grease-resistant maintenance plan and correct joints |
| Kitchen backsplash | Glazed ceramic or suitable wall tiles | Accurate cutting and sealed countertop junctions |
| Bathroom floor | Wet-area-rated, slip-resistant tiles | Waterproofing, correct slope and compatible grout |
| Bathroom walls | Suitable ceramic or porcelain wall tiles | Sound substrate and properly detailed corners |
| Balcony | Outdoor-suitable tiles with appropriate slip resistance | Drainage falls, waterproofing where required and movement joints |
| Terrace | Exterior-rated tiles or a specified terrace finish | Waterproofing design, drainage and movement accommodation |
| Staircase | Suitable durable tiles or stair components | Secure fixing, consistent riser/tread geometry and safe edges |
| Garage or utility area | Tiles rated for the expected loads and exposure | Substrate strength and appropriate joint design |
The final selection should be based on product specifications, actual site conditions and the intended use of the area.
Before work begins, the contractor should check the availability and compatibility of the required tools and materials.
Measuring tape and marking pencil
Spirit level or laser level
Straightedge and layout square
Tile cutter or wet-cutting machine
Notched trowel suitable for the adhesive and tile size
Rubber mallet and tile spacers
Levelling clips where appropriate
Mixing bucket and suitable mixing paddle
Grout float and cleaning sponges
Personal protective equipment, including eye protection and gloves
Selected floor or wall tiles
Cement-based tile adhesive or an appropriate specified bedding system
Compatible grout
Primer where required by the substrate or adhesive system
Waterproofing products for designated wet areas
Sealant for suitable junctions and movement joints
Screed or repair mortar for substrate preparation
Edge trims and other specified finishing components
Do not assume that ordinary cement slurry is suitable for every tile. Large-format tiles, low-absorption porcelain, existing tiled surfaces and certain wall applications may require a specific adhesive classification or installation system.
Begin with a detailed inspection of the room. Measure the length and width, identify door openings, pillars, drains, plumbing outlets, cabinets and other obstructions. Check the condition of the existing floor or wall.
Inspect for:
Cracks and loose plaster
Dampness or seepage
Uneven or weak surfaces
Existing waterproofing defects
Incorrect floor levels
Drain locations and required falls
Movement joints and structural junctions
For renovation projects, establish whether old tiles can remain or must be removed. New tiles should not be fixed over a defective, unstable or damp substrate without an appropriate remedial system.
Mark reference lines before fixing the first tile. A dry layout helps determine the position of full tiles, edge cuts, door thresholds, cabinets and visible focal points.
The installer should aim to:
Keep important tile lines straight and consistent.
Avoid very narrow tile strips in prominent locations where practicable.
Align tile joints with doorways or other architectural features where suitable.
Plan around floor drains, pipes and cabinet edges.
Confirm the required joint width and tile orientation.
Check the pattern and shade variation across different tile boxes.
A good layout can reduce unnecessary wastage and improve the overall finish.
The surface must be structurally sound, clean and suitable for the selected installation system. Remove dust, oil, grease, loose mortar, paint and other contaminants that could affect bonding.
Correct unevenness using a suitable repair mortar or levelling compound. Do not expect the tile adhesive to compensate for substantial floor irregularities unless the selected product is specifically designed for that purpose.
Allow repair materials to achieve the required condition before tiling. Check the substrate's moisture condition and compatibility with the selected adhesive.
Before covering a wall or floor, confirm that concealed pipes, drainage lines and electrical conduits are correctly positioned and tested where applicable.
For kitchen renovation, coordinate the tile layout with countertop levels, sink positions, appliance spaces, cabinet heights and backsplash dimensions. For bathrooms, confirm floor traps, pipe outlets, shower fittings and waterproofing details before final installation.
Waterproofing is particularly important for bathrooms, shower enclosures, balconies and terraces, and may be required in other locations depending on the design and exposure.
A suitable procedure typically includes:
Preparing and repairing the substrate.
Treating cracks, corners, pipe penetrations and junctions as specified.
Applying the compatible waterproofing system to the specified coverage and thickness.
Observing the manufacturer's drying or curing requirements.
Carrying out a suitable water-retention test where required and safe.
Protecting the waterproofing layer from damage during subsequent work.
Tile grout alone is not a waterproofing system. Where a waterproofing membrane is specified, it should be completed and inspected before tiles are installed.
The fixing method depends on the tile, substrate, location and project specification.
Adhesive method: A suitable tile adhesive is spread with a notched trowel. The tile is pressed into the adhesive to achieve the required contact and coverage. Back-buttering may be required for certain tile sizes, profiles or applications.
Cement-mortar bedding: A traditional bedding system may be appropriate for certain tiles and floor constructions when specified. The substrate, mortar mix, bedding thickness and tile characteristics must be considered.
Avoid mixing methods without technical justification. Follow the selected product's instructions for mixing, open time, pot life, coverage and setting.
Start from the established reference lines. Spread only the quantity of adhesive that can be covered within its permitted open time.
Place each tile carefully, pressing or moving it as required by the fixing system. Use spacers to maintain consistent joints. Check the level, line, pattern and adjacent tile height frequently.
For large-format tiles, confirm adhesive coverage and minimise voids, especially in wet or heavily loaded locations. Do not rely solely on tapping the tile surface as proof of adequate bonding.
Use suitable cutting equipment for door frames, corners, floor traps, pipes, sockets and cabinet edges. Keep cut edges neat and avoid fragile slivers wherever possible.
Use appropriate safety equipment when cutting tiles, particularly when power tools generate dust or fragments. Where required, use suitable dust control and eye protection.
Joint widths should be selected according to the tile dimensions, dimensional variation, layout and manufacturer's recommendations. Very narrow joints are not appropriate for every tile.
Provide movement joints where required by the design, substrate, perimeter conditions and exposure. Do not fill designated movement joints with rigid grout; use a suitable flexible sealant or specified joint system.
Protect newly installed tiles from foot traffic, impact, vibration, water exposure and premature loading for the period specified by the adhesive or bedding system.
Do not begin grouting simply because the tile surface appears dry. The required waiting period depends on the product, substrate, temperature, humidity and installation method.
Once the tiles are ready for grouting, remove spacers and clean the joints to the required depth. Apply compatible grout with a grout float, working it into the joints.
Remove excess grout using the method and timing recommended by the manufacturer. Avoid washing out the joints or leaving a persistent grout haze. Use a compatible flexible sealant at designated movement joints and appropriate changes of plane.
After the required setting and curing period, clean the tiles with a product suitable for the tile and grout.
Inspect the completed work for:
Consistent alignment and joint width
Excessive lippage between neighbouring tiles
Loose tiles or evidence of poor bonding
Cracks, chipped edges and damaged corners
Incomplete grout joints and grout haze
Correct drainage in wet areas
Proper finishing at doorways, corners and fixtures
Damage to waterproofing or surrounding finishes
Any defects should be assessed and corrected before the room is returned to normal use.
The kitchen needs special attention because it combines food preparation, water exposure, grease, frequent cleaning and heavy appliances.
Confirm the finished floor level and transitions to adjoining rooms.
Inspect the substrate for cracks, weakness and unevenness.
Choose tiles suitable for the expected traffic and cleaning requirements.
Plan the layout around cabinets, doorways and appliance positions.
Use the appropriate adhesive or bedding method.
Maintain the specified joints and check flatness regularly.
Apply compatible grout and finish perimeter joints as required.
Protect the floor until it is ready for loading.
Check that the wall is stable, flat and clean.
Mark a level starting line in coordination with the countertop.
Plan the layout around sockets, switches, cabinets and extractor hoods.
Cut tiles accurately around fittings.
Fix the tiles using an appropriate wall-tile adhesive.
Grout the joints with a compatible product.
Seal suitable countertop-to-wall junctions with an appropriate sealant.
For areas behind cooking appliances, confirm that the selected tile, adhesive, grout and surrounding materials are suitable for the actual heat exposure.
These locations need more than a good-looking tile surface. The entire floor assembly must be designed for moisture, drainage and movement.
Complete the plumbing and substrate repairs first.
Install the specified waterproofing system.
Check shower-floor falls and drain positioning.
Use tiles suitable for wet-floor conditions.
Maintain the required joint and movement-joint details.
Test drainage and inspect for water pooling.
Select tiles suitable for exterior exposure.
Provide the designed fall toward the drainage point.
Detail the waterproofing and wall-floor junctions correctly.
Allow for thermal movement and perimeter joints.
Prevent water from accumulating near door thresholds.
Terrace tiling should be planned as a complete waterproofing and drainage system, not merely as a tile-finishing job. Existing leakage, cracked screed, blocked outlets and inadequate falls should be addressed before new tiles are laid. Confirm the design with a qualified professional, especially where structural movement or recurring seepage is present.
Odisha has coastal, inland, hilly and plateau environments. Installation decisions should reflect the actual site rather than assuming that every district has identical weather or ground conditions.
In districts such as Puri, Khordha, Ganjam, Jagatsinghpur, Kendrapara, Balasore and Bhadrak, some properties may be exposed to high humidity, heavy monsoon rain and salt-laden air.
Consider:
Exterior-rated tiles and compatible fixing materials.
Proper drainage at balconies and exposed entrances.
Waterproofing at wet-area junctions and exposed slabs.
Corrosion-resistant metal trims and suitable fittings where exposed.
Careful protection of materials during rain and humid conditions.
In districts such as Sambalpur, Bargarh, Balangir, Nuapada, Kalahandi and Subarnapur, seasonal heat and temperature variation should be considered alongside normal moisture and substrate conditions.
Consider:
Avoiding installation during unsuitable substrate or material temperatures.
Protecting freshly fixed tiles from rapid moisture loss and premature traffic.
Using the adhesive within its stated temperature and open-time limits.
Providing movement joints where required.
In districts such as Sundargarh, Keonjhar, Mayurbhanj, Jharsuguda, Angul and Deogarh, the same fundamental installation requirements apply, with site-specific attention to substrate condition, exposure and building use.
In districts such as Koraput, Kandhamal, Rayagada, Gajapati and Malkangiri, assess the actual building's moisture exposure, drainage, substrate stability and transportation or storage conditions for materials.
Important: These are planning considerations, not fixed climate classifications for every town or village. Select materials and installation dates based on local weather, the manufacturer's instructions and site inspection.
An uneven substrate can cause inconsistent tile heights, poor adhesive coverage and stress-related failures. Correct the surface before tiling.
Different tiles and substrates require different fixing systems. Confirm product compatibility instead of selecting an adhesive solely on price.
Grout and tiles do not replace a properly designed waterproofing system. Water can pass through joints and junctions into the underlying construction.
A poorly formed slope can cause standing water, staining and maintenance difficulties. Check the finished floor and drainage before handover.
Insufficient layout planning can create inconsistent lines, narrow cuts and an unattractive finish. Mark reference lines and inspect progress continuously.
Premature grouting may interfere with the setting process or trap moisture. Follow the fixing product's specified waiting time.
Large areas, perimeters, changes of plane and exposed locations may require movement accommodation. Rigid grout should not be substituted for designated flexible joints.
Acidic or abrasive cleaners can damage certain tiles, grout, sealants and natural stone. Use a compatible cleaning product and test it in an inconspicuous area.
Accurate measurement helps estimate material requirements and control wastage.
Basic formula:
Tile area required = Floor or wall length × width, adjusted for openings and the actual surface to be tiled.
For example, a room measuring 12 ft × 10 ft has a floor area of 120 sq. ft.
If an illustrative 10% allowance is adopted for cuts and wastage:
Measured area: 120 sq. ft.
Illustrative allowance: 12 sq. ft.
Estimated purchase quantity: 132 sq. ft.
The actual allowance depends on tile size, layout, pattern, diagonal cuts, room shape and the possibility of future replacement. Do not apply one fixed wastage percentage to every project.
For a kitchen backsplash, measure the tiled height and width separately and subtract areas that will not be tiled where appropriate. Check tile-box coverage and purchase quantities using the manufacturer's stated coverage.
Tile installation costs vary by district, town, project size, tile specification, substrate condition and workmanship requirements. A reliable estimate should be prepared after measurements and a site inspection.
Important cost factors include:
Tile material, size, thickness and finish.
Floor or wall area in square feet.
Existing tile removal and debris disposal.
Surface levelling and substrate repairs.
Waterproofing and screed work.
Adhesive, mortar, grout and sealant selection.
Tile cutting, patterns, borders and edge finishing.
Staircases, niches, pillars and complex layouts.
Transportation and material handling.
Labour, site access, floor level and project schedule.
Protection, cleaning and final inspection.
A clear quotation should state:
Measured floor and wall areas.
Tile make, model, size and finish.
Whether tiles are supplied by the customer or contractor.
Fixing method and adhesive specification.
Grout, spacers, trims and sealant requirements.
Surface preparation and waterproofing inclusions.
Removal and disposal of existing tiles, if required.
Labour, materials, transportation and applicable taxes.
Exclusions, payment terms and expected work schedule.
Avoid comparing quotations based only on the labour rate. The scope of work, preparation, material quality, waterproofing and finishing standards can differ substantially.
Use this checklist during the final site inspection.
Tiles match the approved size, shade, pattern and finish.
Layout lines are straight and cuts are neatly finished.
Tile joints are consistent with the agreed specification.
Surface flatness and lippage are within the applicable requirements.
There are no visibly cracked, chipped or loose tiles.
Grout joints are adequately filled and cleaned.
Movement joints and perimeter details are correctly finished.
Bathroom, balcony and terrace drainage is checked.
Waterproofing records and relevant test results are available where applicable.
Fixtures, doors, cabinets and thresholds have suitable clearances.
The completed work is cleaned and protected.
The owner receives maintenance guidance and any relevant product details.
A tapping check may help identify some suspected hollow areas, but sound alone cannot conclusively determine whether a tile installation is defective. Assess questionable areas using the applicable specification and a competent inspection.
MistriBabu provides a brand framework for construction, renovation, repair, maintenance, property inspection and consultancy services. For tile-related projects, service availability, travel arrangements and project scope should be confirmed for the specific location before booking.
The following list covers all 30 administrative districts of Odisha, based on the Government of Odisha district directory.
Khordha: Bhubaneswar, Jatni, Khordha and nearby areas.
Cuttack: Cuttack city, Choudwar, Athagarh, Salipur and surrounding locations.
Puri: Puri town, Pipili, Konark and nearby areas.
Jagatsinghpur: Jagatsinghpur town, Paradip, Tirtol and nearby areas.
Kendrapara: Kendrapara town, Pattamundai, Rajnagar and surrounding areas.
Jajpur: Jajpur town, Vyasanagar, Jajpur Road and nearby areas.
Balasore: Balasore town, Soro, Jaleswar and surrounding areas.
Bhadrak: Bhadrak town, Basudevpur, Chandbali and nearby areas.
Nayagarh: Nayagarh town, Khandapara, Dasapalla and surrounding areas.
Mayurbhanj: Baripada, Rairangpur, Karanjia and nearby areas.
Angul: Angul town, Talcher, Banarpal and surrounding areas.
Dhenkanal: Dhenkanal town, Kamakhyanagar, Hindol and nearby areas.
Keonjhar (Kendujhar): Keonjhar town, Anandapur, Barbil and surrounding areas.
Sundargarh: Sundargarh town, Rourkela, Rajgangpur and nearby areas.
Jharsuguda: Jharsuguda town, Brajarajnagar, Belpahar and nearby areas.
Sambalpur: Sambalpur city, Burla, Hirakud and nearby areas.
Bargarh: Bargarh town, Barpali, Padampur and surrounding areas.
Deogarh: Deogarh town and surrounding rural areas.
Balangir: Balangir town, Titilagarh, Patnagarh and nearby areas.
Subarnapur (Sonepur): Sonepur town, Birmaharajpur and surrounding areas.
Boudh: Boudh town, Kantamal and nearby areas.
Ganjam: Berhampur, Chhatrapur, Gopalpur, Aska and nearby areas.
Gajapati: Paralakhemundi, Mohana and surrounding areas.
Kandhamal: Phulbani, Baliguda, Daringbadi and nearby areas.
Kalahandi: Bhawanipatna, Junagarh, Kesinga and surrounding areas.
Koraput: Koraput town, Jeypore, Sunabeda and nearby areas.
Rayagada: Rayagada town, Gunupur and surrounding areas.
Malkangiri: Malkangiri town, Kalimela and nearby areas.
Nabarangpur: Nabarangpur town, Umerkote and surrounding areas.
Nuapada: Nuapada town, Khariar and nearby areas.
The named towns are examples of places within the respective districts, not a complete list of all blocks, gram panchayats, villages or serviceable locations. Coverage should be confirmed before committing to a site visit or project.
Before appointing a contractor for a new house, apartment, kitchen or renovation project, check the following:
Relevant experience: Ask for examples of similar floor, wall, bathroom or large-format tile work.
Site measurement: Confirm that quantities and layout are checked before materials are ordered.
Material clarity: Ask which adhesive, grout, waterproofing and sealant products will be used.
Written scope: Ensure preparation, cutting, grouting, cleanup and exclusions are documented.
Waterproofing details: Confirm how wet areas will be protected and tested where required.
Workmanship checks: Agree on layout approval, inspection points and handover criteria.
Project coordination: Coordinate tile installation with plumbers, electricians, carpenters and kitchen installers.
Maintenance guidance: Obtain product care instructions and retain spare tiles where practical.
A professional contractor should explain the installation method and its limitations instead of promising that every tile surface will remain problem-free under all conditions.
MistriBabu is positioned as a construction and property-services brand covering construction, renovation, repair, maintenance, property inspection and consultancy.
Tile-related work may form part of a broader project involving:
New home flooring and wall tiling.
Kitchen floor and backsplash installation.
Bathroom renovation and wet-area finishing.
Balcony and terrace tile work.
Replacement of damaged or loose tiles.
Surface repairs and finishing coordination.
Related plumbing, waterproofing and civil work, subject to the agreed scope.
For projects in Bhubaneswar, Cuttack, Puri, Kendrapara, Jajpur, Balasore, Bhadrak and other Odisha districts, share the site location, measurements, photographs and type of work required so that availability and the appropriate inspection or quotation process can be confirmed.
A successful tile installation depends on selecting the right tile, preparing a sound substrate, using a compatible fixing system, maintaining correct alignment and joint spacing, completing waterproofing where required and checking drainage and finishing before handover.
For homes across Odisha's 30 districts, the installation plan should reflect the actual site, the building's exposure, the tile manufacturer's instructions and applicable technical requirements. Careful planning and written work specifications help homeowners reduce avoidable defects, manage material wastage and achieve a clean, durable finish for kitchens and other living spaces.kitchens and other living spaces.


Information 5 min read
Read →
Information 5 min read
Read →
Guide 5 min read
Read →
Tips 5 min read
Read →
Tips 5 min read
Read →
Guide 5 min read
Read →
Guide 5 min read
Read →
Information 5 min read
Read →
Information 5 min read
Read →
Guide 5 min read
Read →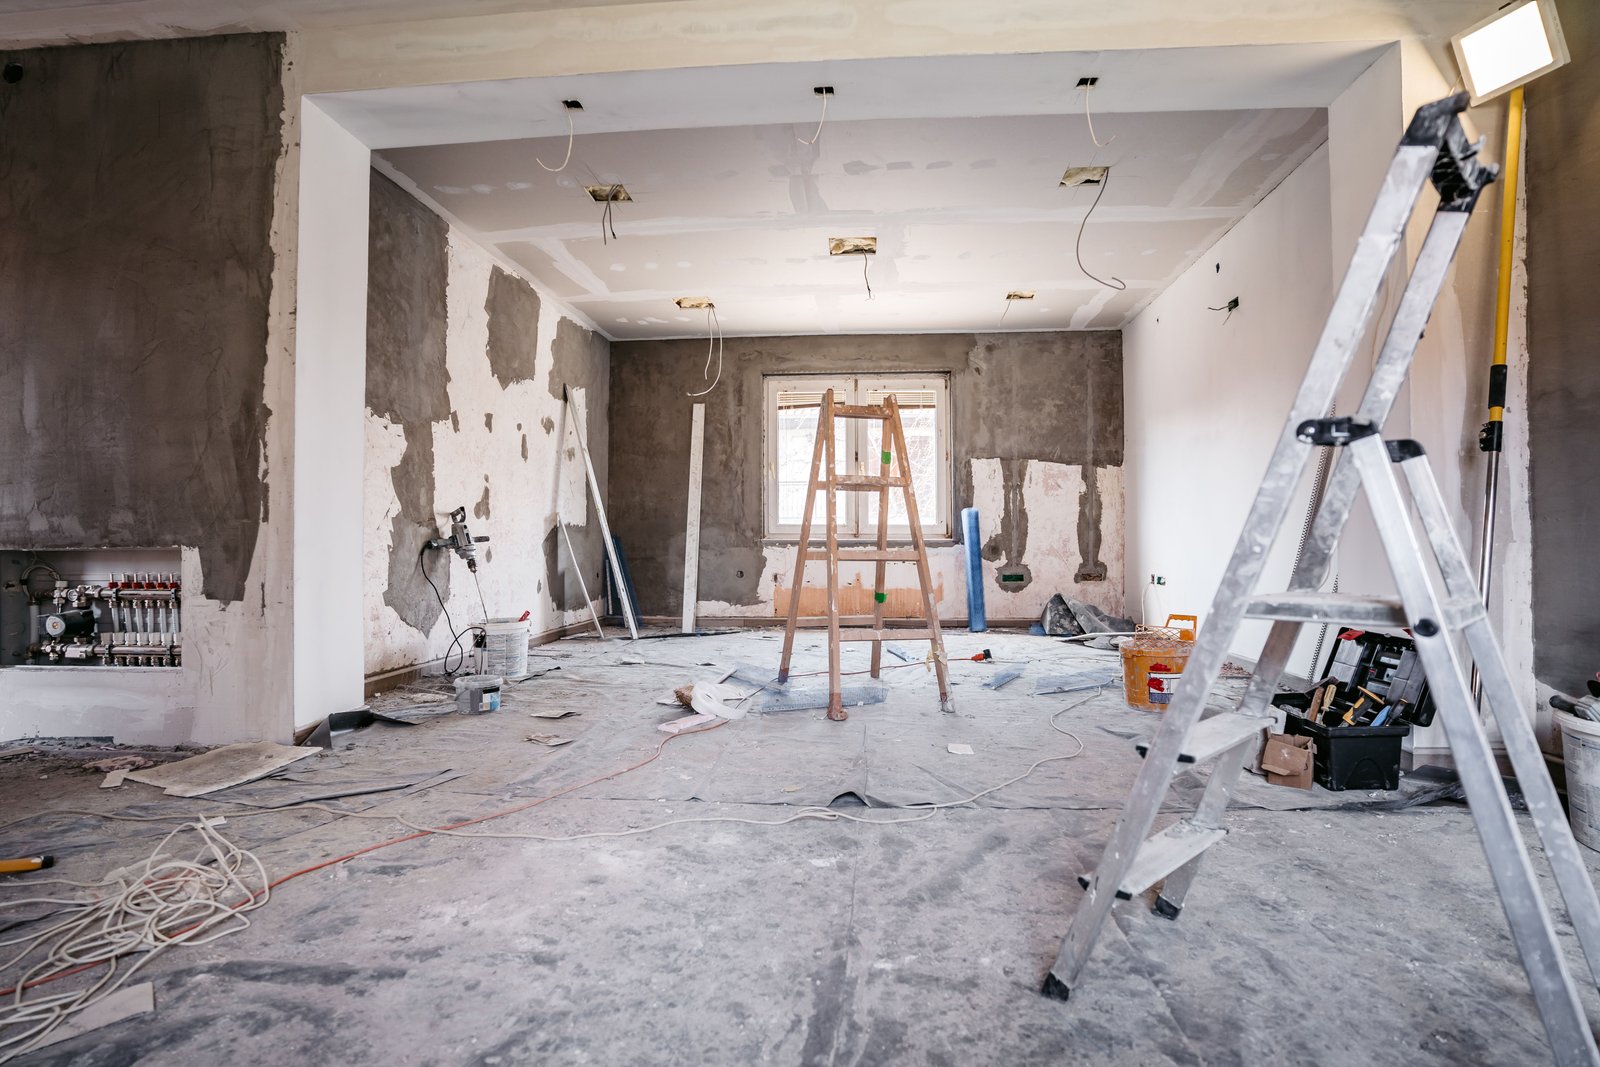
Guide 5 min read
Read →
Guide 5 min read
Read →
Guide 5 min read
Read →
Analysis 5 min read
Read →
Information 5 min read
Read →
Tips 5 min read
Read →
Guide 5 min read
Read →
Guide 5 min read
Read →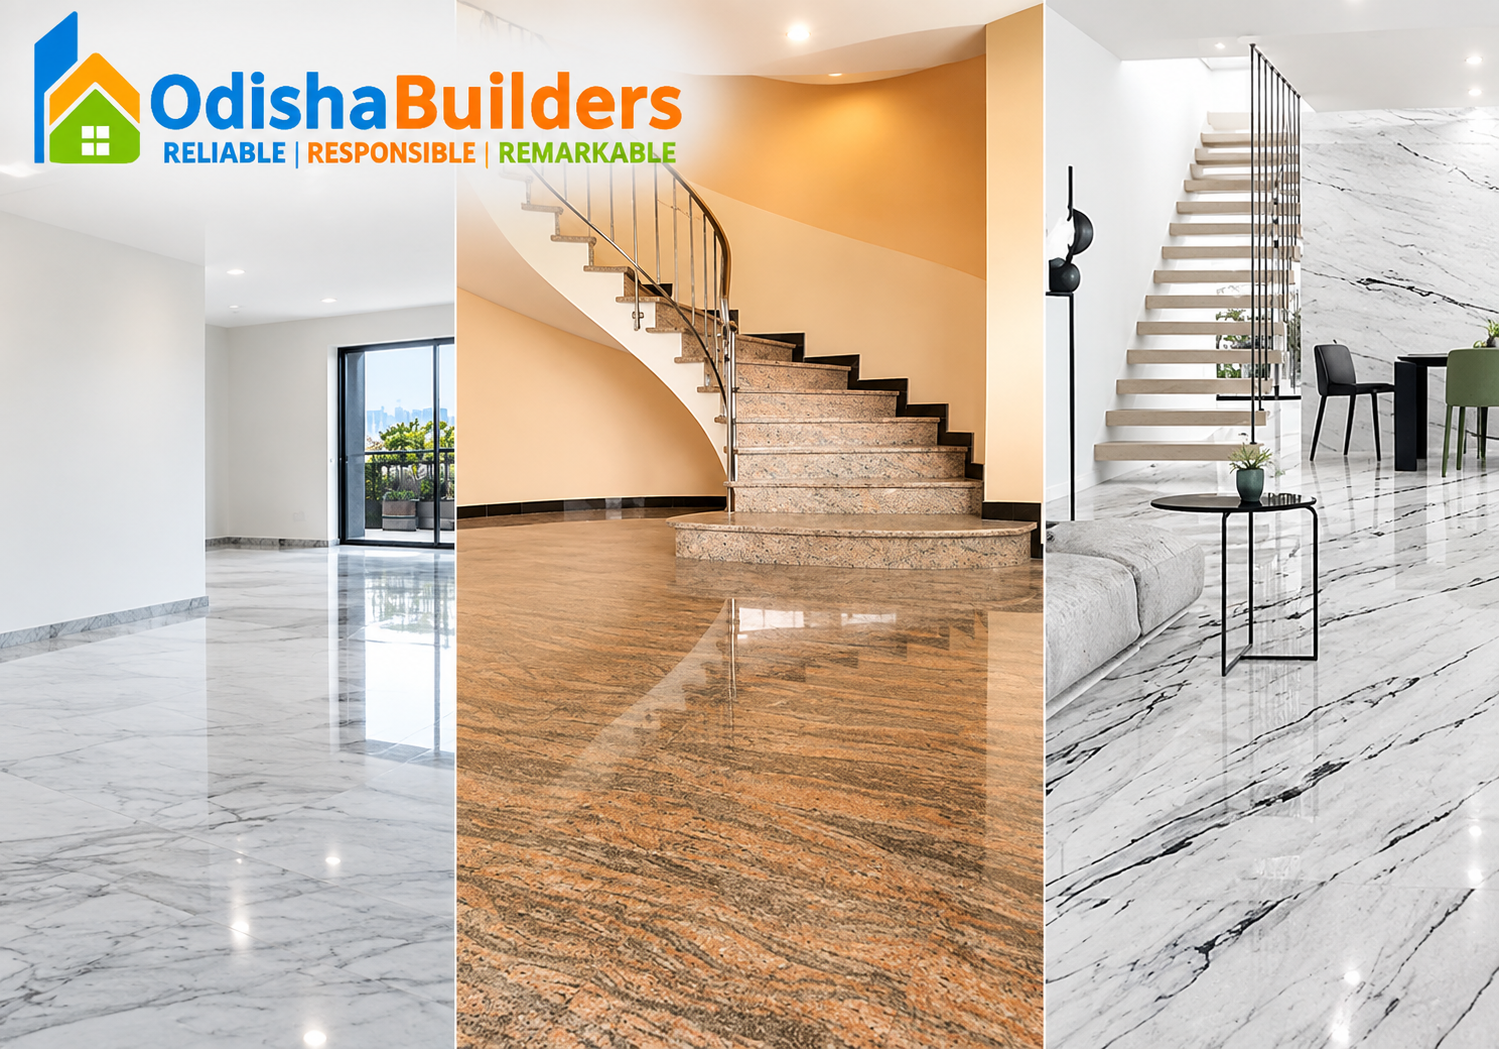
Guide 25 min read
Read →
Guide 5 min read
Read →